Yesterday I spent the afternoon working on the trunk vents again. I believe I’ve spent a total of about 12 hours trying to get them to their current state. Building-up, filling, sanding and then repeating over and over again.
I think my neighbours think I’m a bit nuts spending all that time sanding. I personally think it’s the little details that make the car special and seem more finished or polished. But at least you’re outside on a beautiful day and able to talk to everyone as they pop by to see what you’re working on.
I now have all of the vents except the two top vents recessed and smoothed/blended with body filler using 80 grit sandpaper. They will still need some spot filler and final 200 grit sanding, but they’re looking exactly as I hoped.
Next step will be figuring out how I’ll get a backing plate and mesh into the recessed opening. I have a couple ideas, but it will be a trial and error process just like everything else on this car 🙂
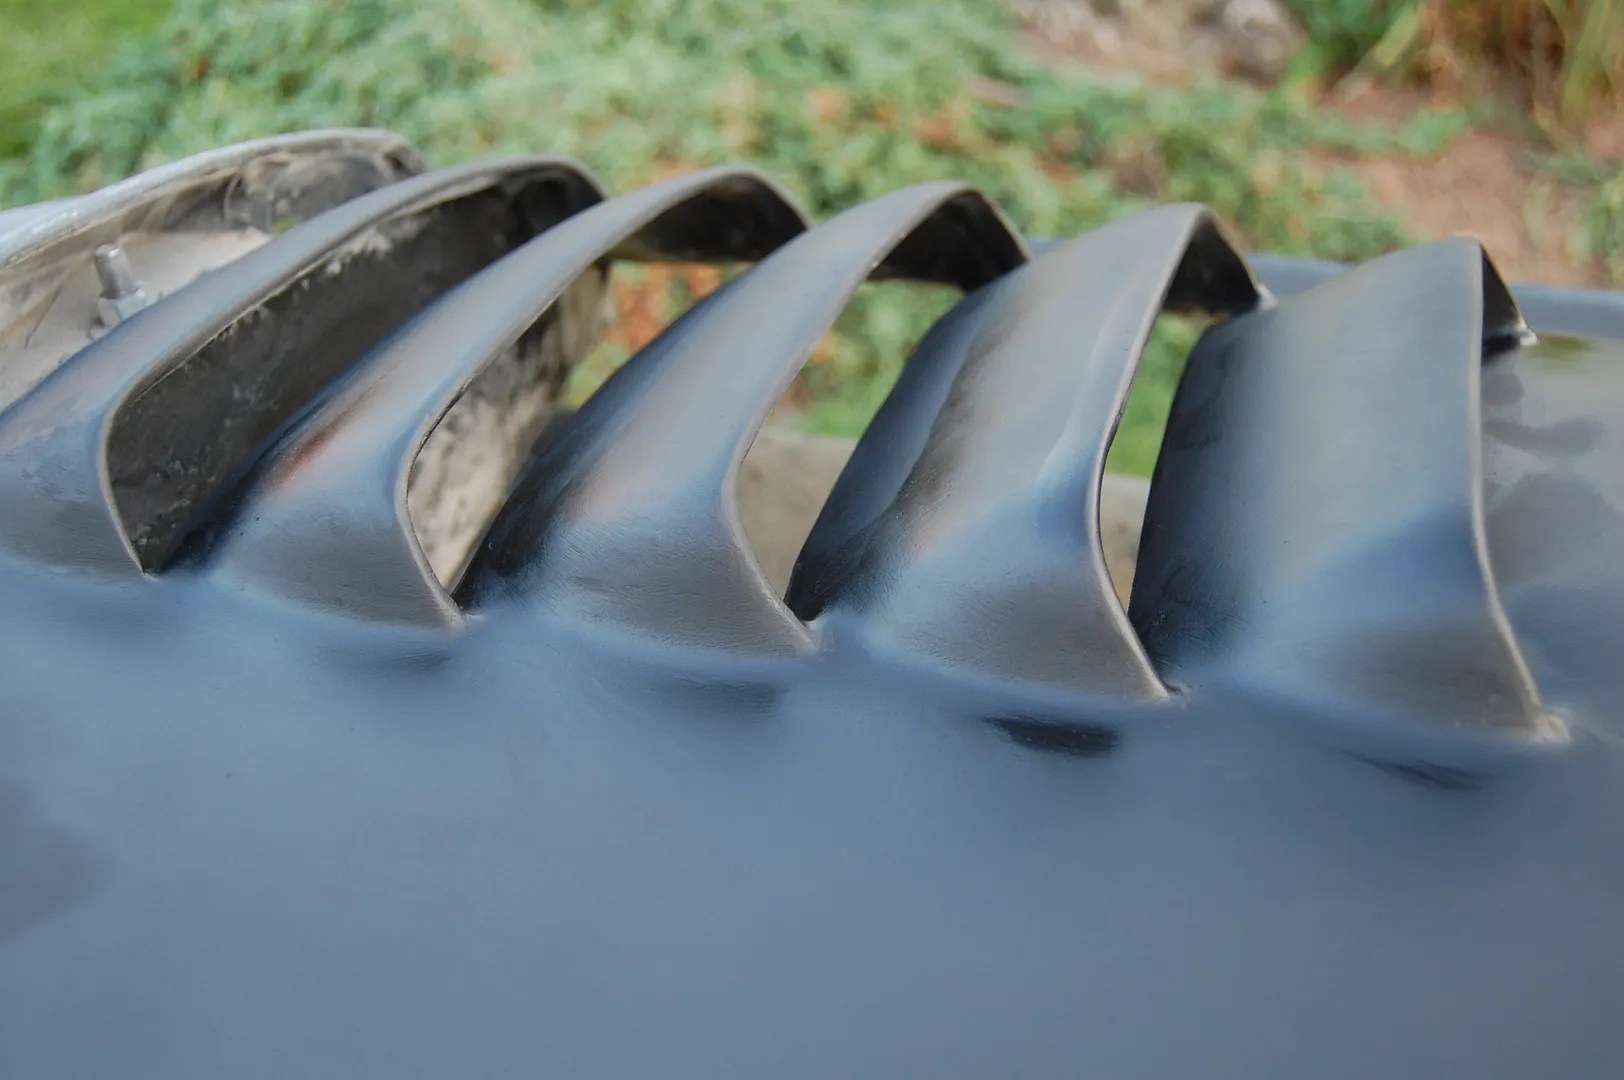
I sprayed a couple coats of primer on the surface to seal the body filler. As you can see the body filler kind of acts like a sponge soaking up the primer. This is one of the reasons you should always do a coat of primer over body filler before spraying your final paint.
The primer I use is a sandable primer so that I can then smooth things out further with some 200 grit paper and then some final spot putty to get the pin-holes and blemishes.

You can still see the striations from the 80 grit in these pictures, but don’t worry, those will be going away. I tried to make sure that I blended the surfaces nicely into each other and also tried to smooth the inside corners of the recessed area that will still be exposed when I add the mesh.

Today will be a day of giving my numb fingers a rest and packing for our trip to California to visit the 75 years of Batman exhibit. Our flight leaves tomorrow morning 🙂

Leave a comment